GIS
4 Simple Steps to Add Layers to Your Project
Traditionally, spatial data has been difficult to work with. There are countless reasons for this, but at the heart of them all lies the fact that it’s complex and technical data. The pool of people able to manage spatial data sets, let alone make sense out of them, is surprisingly small (you know who you are 😉).
But things have changed over the last decade. Stakeholders of all professional backgrounds can now easily manage and use geospatial data.
Combining data layers into a map is one of the most fundamental steps in gaining value from geospatial data.
Our web viewer is designed for stakeholders of all technical levels, from GIS experts to business heads.
In this article we show you how you can add layers to your project in 4 simple steps on Ellipsis Drive!
Step 0: Open your free account with Ellipsis Drive and get 5 GB storage data free
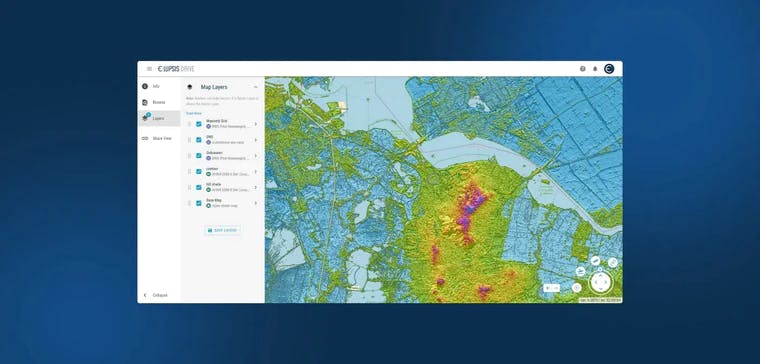
Step 1:Exploring the side menu options in your new or existing map

Create a new map or open an existing one. Upon opening, you will see a side menu on the left with 4 buttons. Click on the ‘Browse’ button to explore all your options to import spatial data on your map.
Step 2: Importing Layer onto your Base Map
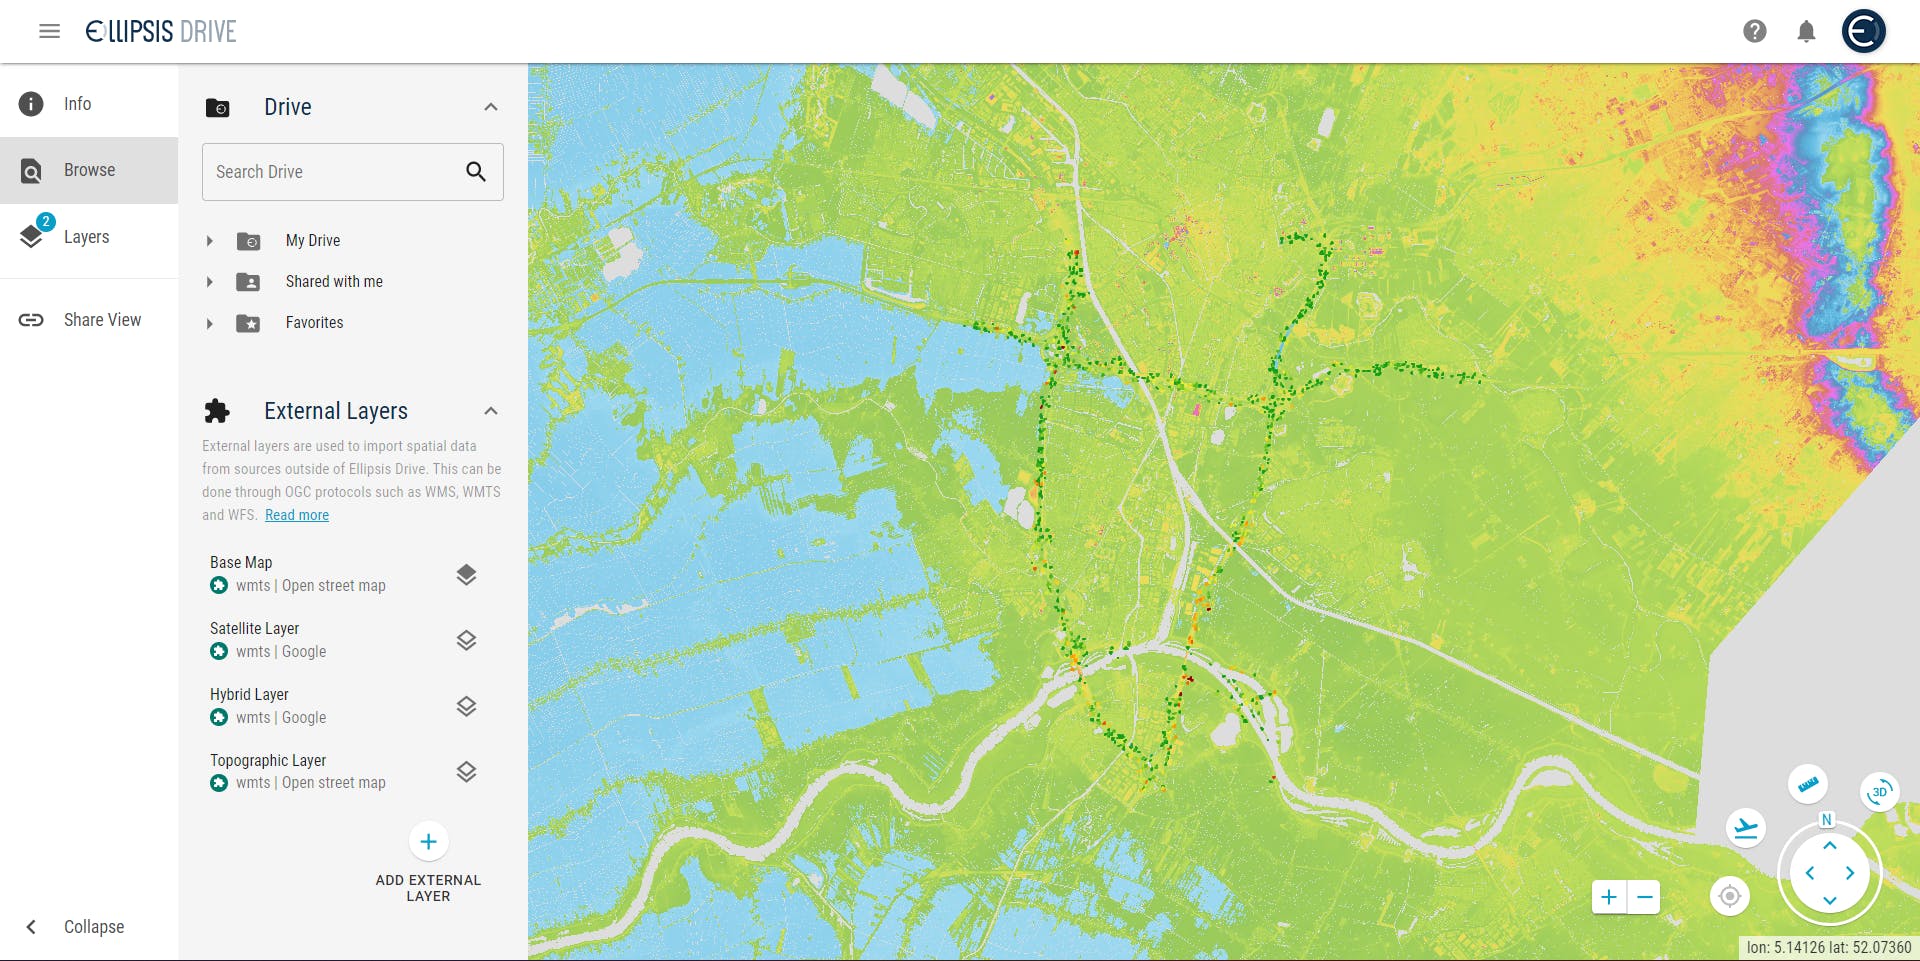
You have 2 options, either import data that is already hosted on Ellipsis Drive in which case you select the ‘Drive’ option and select the folder from where you want to import the data.
You can also import data from an external source. You can simply click on the ‘Add External Layer’.
Option 1 works much better for a seamless integration experience. But option 2 works just fine too!
Step 3: Managing Layers
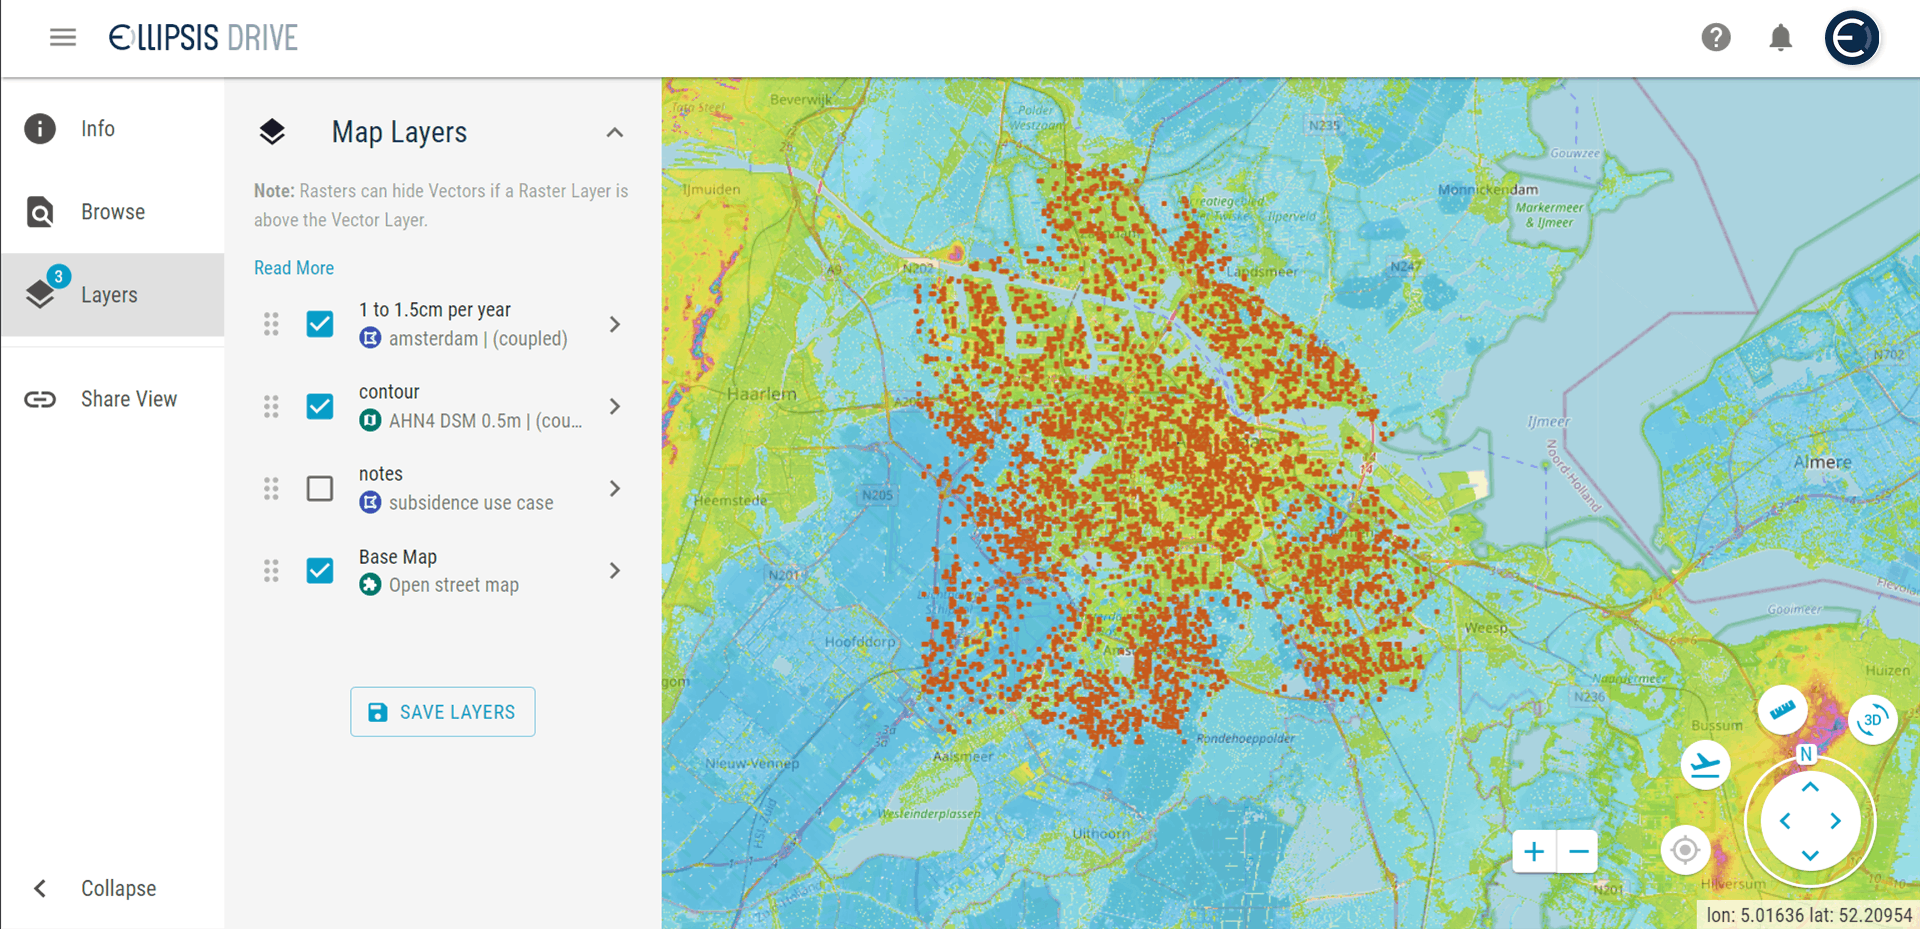
It is possible to have multiple layers overlaid on your base map. Once you click on the ‘Layers’ option you can see all the individual layers. You can simply check the box to keep a layer active or not. You can also decide how the layers stack up by simply holding and dragging the layers up and down.
To edit details of an individual layer you can click on the arrow besides the layer name. Enjoy the option to delete, add a comment, download and more through this function.
Step 4: Save your Project
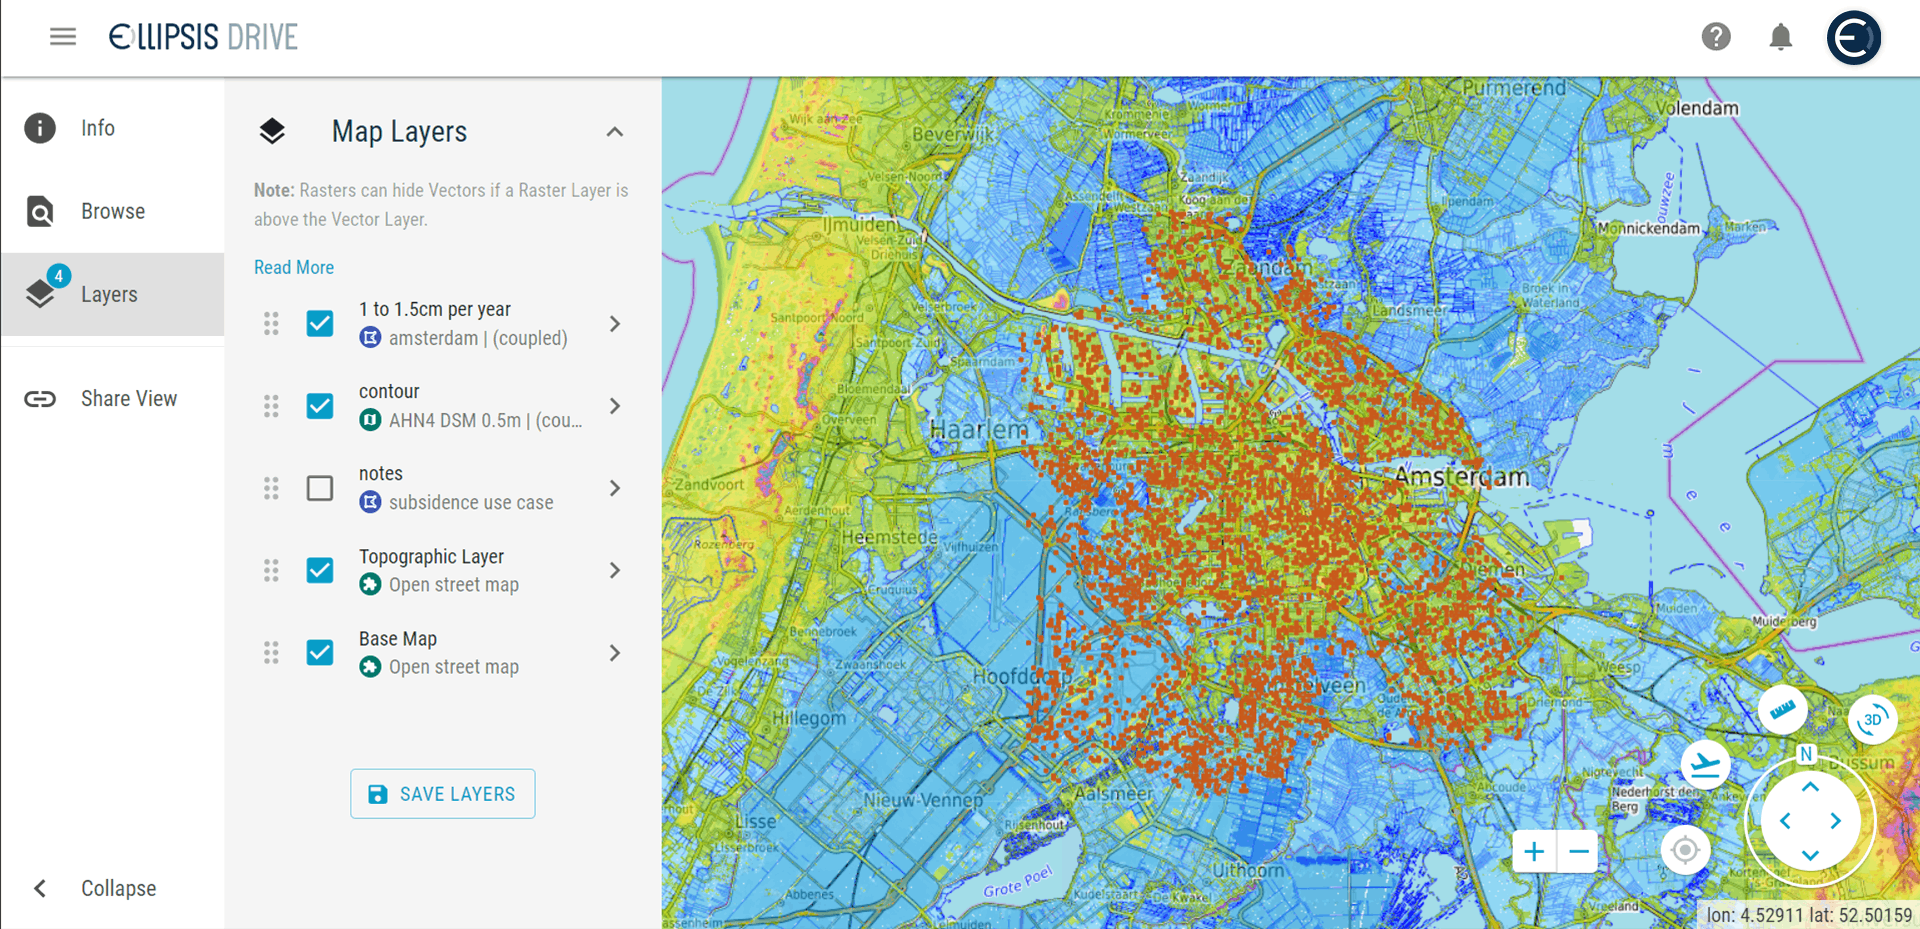
Are you done working on your project and want to save your work for next time? Simply click on the ‘Save Layers’ option that is part of the ‘Layers’ section.
Do note that you need to click on the ‘Save Layers’ button to save any changes made to the project in the existing session. We have kept this functionality so that you can always test and play around with the data and only save it when you have something concrete to share.
And that’s it! Really!
Simpler than you thought? Was the complexity of the process keeping you away so far? Well not anymore! Visit our new web viewer and give it a try now!
Liked what you read?
Subscribe to our monthly newsletter to receive the latest blogs, news and updates.
Take the Ellipsis Drive tour
in less than 2 minutes'
- A step-by-step guide on how to activate your geospatial data
- Become familiar with our user-friendly interface & design
- View your data integration options

Related Articles

Why AI is Reshaping Spatial Data Infrastructure
Artificial Intelligence is rapidly reshaping expectations around geospatial workflows. Organizations no longer want static outputs or slow analytics cycles. They want near real-time insights, scalabl
5 min read
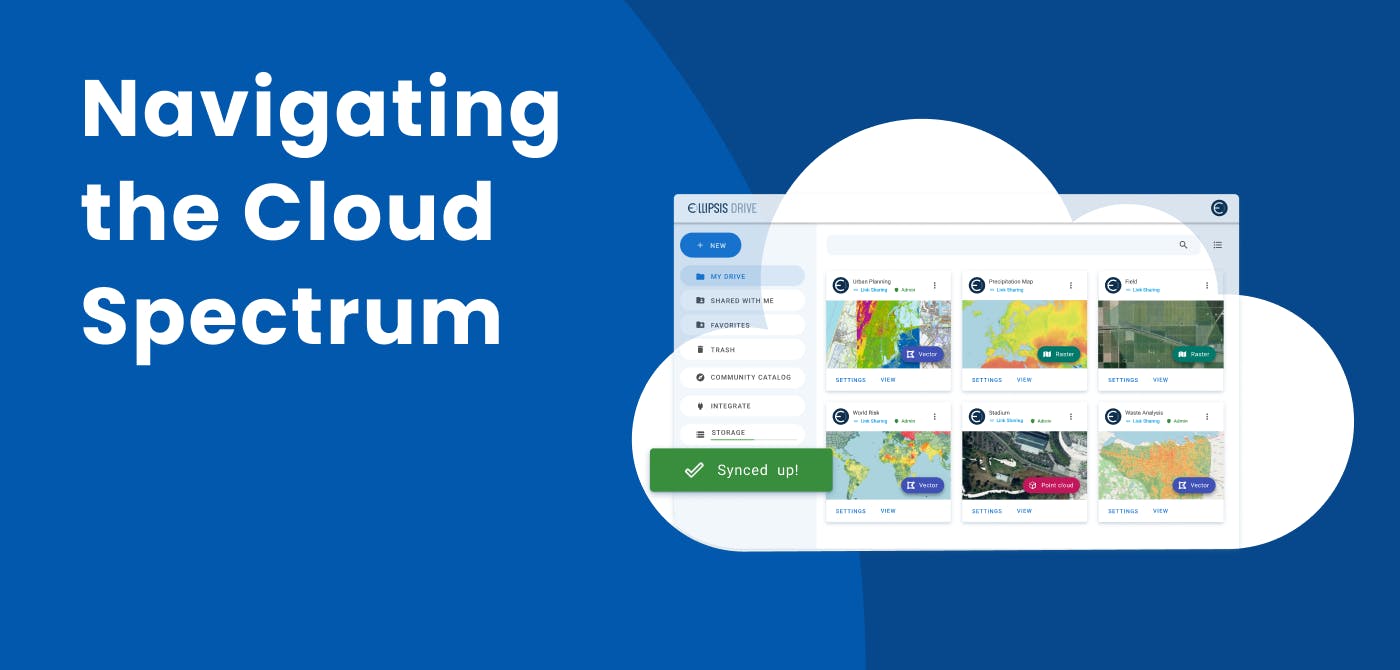
Navigating the Cloud Spectrum: From Generalist to Specialized, and the Perfect Middle Ground
The modern cloud ecosystem spans a wide spectrum of offerings, from general-purpose infrastructure to highly specialized platforms built for domain-specific tasks. At one end, generalist clouds provi
5 min read

Unlocking the Potential of Data: Comparing Tabular and Non-Tabular Protocols
The world of data is a complex landscape and each year, the complexity of that landscape grows exponentially. A combination of new data capturing technology, data processing technology and demands fo
6 min read